Retour sommaire.

logoperso.jpg (28315 octets)

COMBINE DE MANCHE
DUAL CONTROL STICK
Edition 11/2001


COMBINE DE MANCHE :
DUAL CONTROL STICK :
STEUERKNÜPPELMECHANIK:
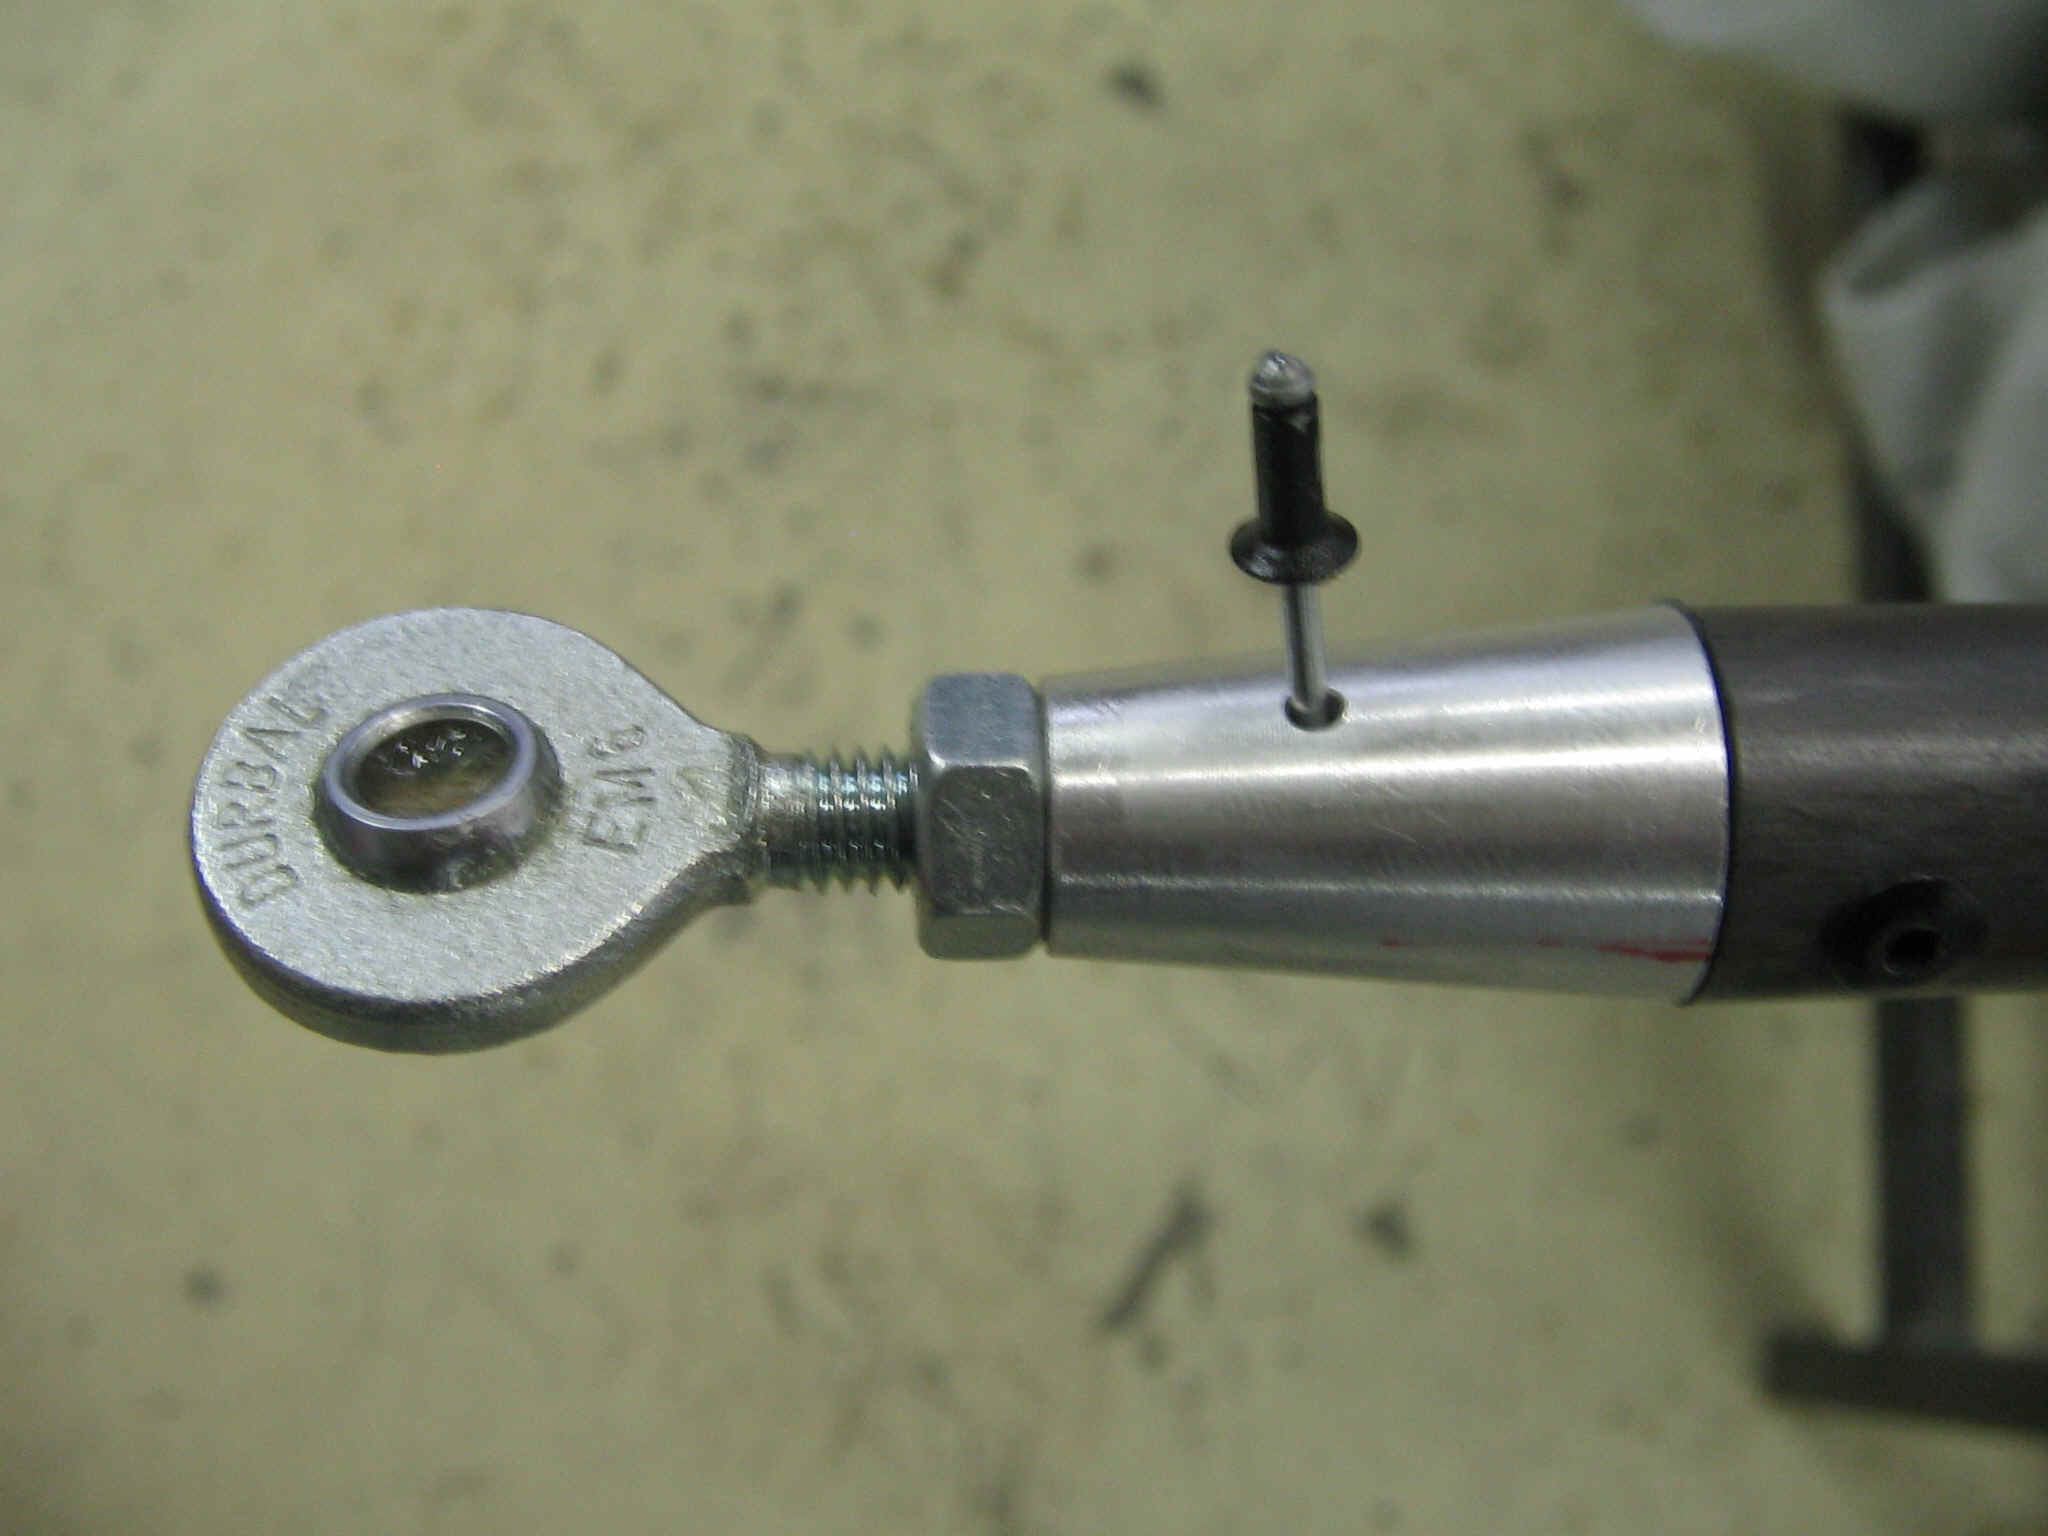
- Enfiler le manche sur le pied de manche de manière à laisser 10 mm entre le bas du tube et le dessus de l'axe d'articulation. Même si vous devez forcer pour enfiler le tube, ne SURTOUT PAS ALESER celui-ci !  Par contre il est possible de toiler légèrement le pied de manche.
- Slide control stick tube onto its support with 10 mm clearance with the articulation axis. Even if you have to press hard to slide the tube DO NOT REAM IT !!!! You could abrade the steel stick support.

- Contre percer le manche et le pied de manche.
- Counterdrill a 3.2 mm diamter hole into the stick and the stick root.
- Knüppel und Knüppelfuss bohren D 3,2.

- Riveter le manche sur le pied de manche. (rivets 3.2x6)
- Rivet the stick to the stick root with 6 mm long 3.2 diameter rivets.
- Knüppel und Knüppelfuss vernieten ( Niete 3,2x6 )

- Pulvériser un produit du type "WD 40"  dans les évents de soudure du tube principal du combiné de manche et dans les pieds de manche (prévention de le corrosion).
- Apply WD 40 into main tube of dual control stick (to prevent corrosion) through welding vent holes , and into the stick supports..

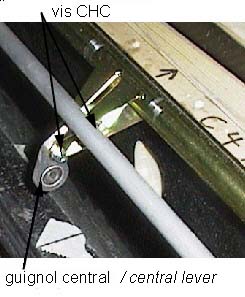
- Monter le guignol central sur le combiné de manche avec des vis CHC 4x12.
- Assemble the central lever on the dual control stick tube with 12 mm long 4 mm diameter  Hex head screws.
- Mittelgelenk montieren ( CHC-Schraube 4x12 )

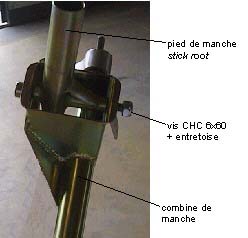
- Monter à la graisse les pieds de manche sur le combiné avec une vis CHC 6x60. (ne pas oublier l'entretoise)
- Assemble and grease the stick root on the dual control stick tube with a 60 mm long 6 mm diameter Hex head screw (do not forget the spacer).
- Knüppelfuss montieren ( CHC-Schraube 6x60 + Hülse )

- Limitez le jeu des manches d'avant en arrière à environ 2/10è, à l'aide de rondelles de calage. Attention il est nécessaire de conserver un léger jeu de fonctionnement !
- Reduce longitudinal gap of control sticks to 0.2 mm thanks to spacing washers. This gap must not be reduced to zero for good behaviour of the system.

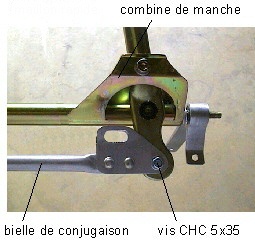
- Monter la bielle de conjugaison sur le combiné. (CHC 5x35).
- Assemble the interconnection linking bar with the dual control stick tube (5x35 mm Hex head screws).
- Steuerstange montieren ( CHC-Schraube 5x35 )
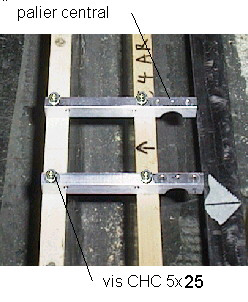
- Monter les paliers centraux sur les couples 4 avec des vis CHC 5x40 et des rondelles D5x10.
- Assemble the central levels onto frames N°4 with 5x40 Hex head screws, and 5x10 mm diameter washers.
- Mittelaufnahme auf Querstreben 4 montieren ( CHC-Schrauben 5x40, U-Sch. 5x10 )
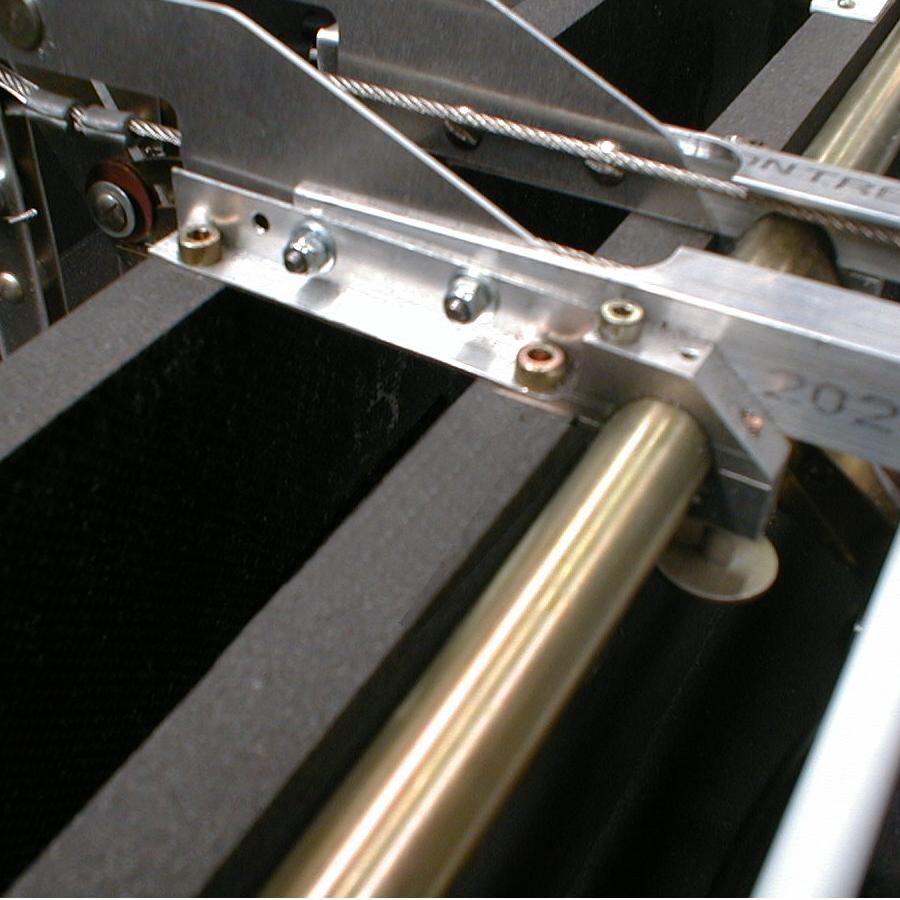
- Monter le combiné de manche sur les paliers centraux à l'aide de vis CHC 4x25 et CHC 4x50, et de rondelles D4x8.
- Assemble the dual control stick tube onto the central bearing supports with 4x25 Hex head screws & 4x8 mm diameter washers.
- Knüppelmechanik auf Mittelaufnahme montieren. (4x25 CHC-Schrauben + U-Scheiben 4x8)
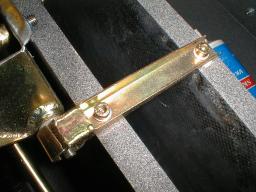
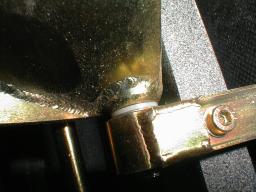
- 1) Monter le combiné sur les paliers centraux , 2) Positionner les paliers latéraux sans les fixer
- 1) Install the dual control stick tube ont the central bearings, 2) locate the external bearing support but don't fix them.

- Déterminez la quantités de rondelles (et rondelles de calage de 0.5 et 0.25) nécessaires pour que les paliers extérieurs se montent sans contrainte.
- Find the correct number of washers (and also 0.5 and 0.25 mm setting washers) required to mount the both external bearing supports without stressing the assembly.

- Fixez les paliers extérieurs au combiné avec les écrous SIMLOC  M6. NE PAS METTRE DE RONDELLE SOUS L'ECROU SIMLOC ! (sinon la rondelle se coince dans l'alésage de la rotule). Le combiné de manche doit etre centré et on doit pouvoir enfiler les vis de fixation des paliers extérieurs sans forcer.
- Fix the external bearings to the dual control stick with M6 SIMLOC nuts . DO NOT PUT ANY WASHER UNDER THE NUT, otherwise it gets jammed in the spherical bearing reaming. The dual control stick may be centered and it must be possible to put the external bearing support fixation screws without forcing
.

- SEULEMENT une fois que les paliers extérieurs sont fixés au combiné, fixer et serrer les vis de fixation des paliers   sur les couples. Vérifier que le manche bouge sans frottement, si nécessaire corriger le nombre de rondelles de calage.
- ONLY ONCE the external bearings are secured to the dual control stick, tighten the external bearing support srews. Check free rotation, if required correct the number of washers.

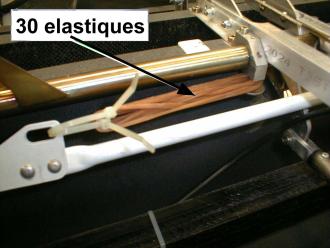
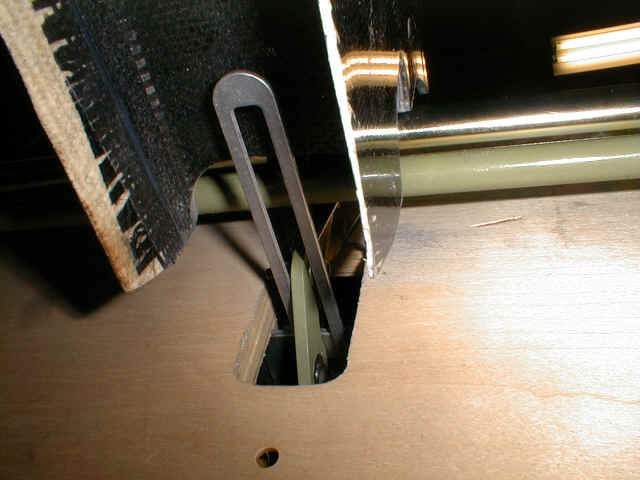
- Tendre 30 élastiques de section 1x1, L=120 entre les paliers centraux du combiné de manche et les anneaux de la bielle de conjugaison. Attachez-les avec 2 Ty-rap de largeur 4.6

- Manoeuvrer le tout en butée mécanique.
- Move the assembly to check the mechanical stops.

- Steuerung an alle Anschläge bewegen.

- S'assurer d'un fonctionnement libre sans jeu.
- Ensure a good working of the system without clearance.
- Sich vergewissern, dass alles frei beweglich und spielfrei ist.


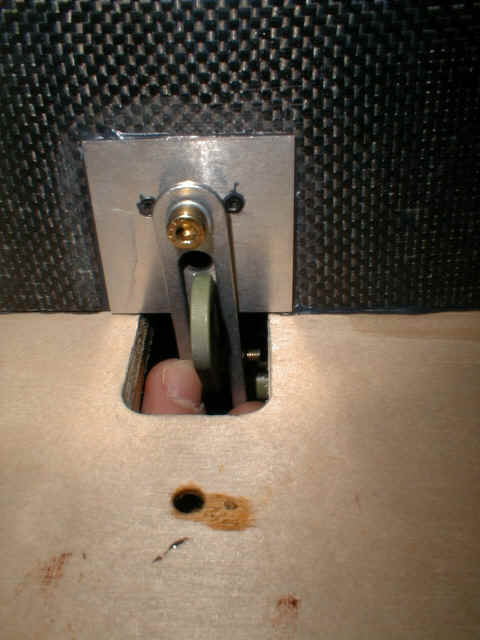
Spécifique 4S :
02220009.jpg (194545 octets)

02220010.jpg (203350 octets)

02220013.jpg (202584 octets)


Retour sommaire.