
DETOURAGE DE LA VERRIERE - MCR-4S
MCR-4S CANOPY CUT-OUT
Edition 11/2001
The MCR-4S canopy contouring method is strictly identical to the 2-seater's. Those instructions are the copy of the two seater's, including some pictures.
Détourage de la verrière:
Canopy cut-out :
L'ajustage de la verrière est une opération longue (entre 4 ert 10 heures selon vos
capacités et votre minutie) et minutieuse, où il ne faut surtout pas vouloir aller trop
vite.
The canopy contouring is a long and precise work (between 4 and 10 hours, depending on
how skillful and meticulous you are), which you mustn't try to achieve too fast.
Recommandations:
Prenez votre temps, lisez les instructions en entier avant de commencer pour avoir une vue d'ensemble des opérations à effectuer.
Faites vous aider d'une personne qui maintiendra, déplacera, positionnera la verrière avec vous.
Comme toujours, le mieux est l'ennemi du bien, ne cherchez pas la perfection, c'est le meilleur moyen de se retrouver avec une verrière avec un jeu énorme parce qu'on a voulu trop couper. Même avec leur expérience les techniciens de Dyn'Aéro ne font pas de verrières parfaites.
Faites les 2 côtés de la verrière en parallèle et non pas l'un après l'autre. (Cas typique : un côté parfait , on va voir de l'autre : surpise !... Un jeu d'un centimètre .....)
Prenez garde aux rayures
Lors des découpes, attention la verrière est fragile.
Tips :
Don't hurry , read the instructions completely before starting to have a general view of the work to do.
Ask someone to help you to carry the canopy with you and hold it in place .
Don't try to do a perfect job, that's the best way to obtain a huge hole because you just wanted to cut a little more ! Even with their experience of that job, Dyn'Aero technicians do not make really perfect canopy.
Make both sides of the canopy in the same time rather than one side after the other (typical case : you finish perfectly the second side, you go back on the firts side you've done ... and surprise ! you find a 10 mm clearance !...)
Mind the straches
When you cut, be careful because the canopy is weak at that stage.
Ordre des opérations :
ajustage de l'avant de la verrière
découpage puis ajustage de l'arrière, en commencant par le dessus au milieu, puis en descendant progressivement le long du bord du fuselage.
découpage puis ajustage des côtés.
Chronological steps :
front part trimming
back part contouring, beginning above in the middle, then gradually on the sides along the fuselage
cutting-out of the sides
Il reste parfois en sortie d'usine des bourrelets de démoulage sur le bord avant :
supprimez-les.
Sometimes the canopies come from the factory with some swellings in the front part :
cut them off.
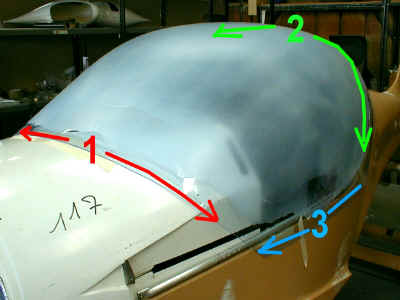
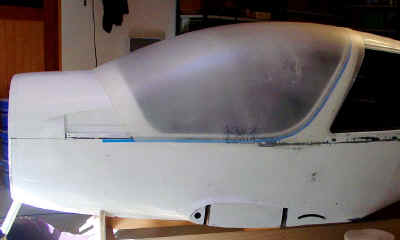
- Mettre l'arceau de verrière en place et verrouillez-le (vérifiez que les cales de
l'arceau sont toujours en place !).
- put the canopy frame on and lock it (check that you did not remove the sapcers of
the frame !)
- Positionner la verrière sur le fuselage
- Position the canopy on the fuselage.
- Vérifiez que vous l'avez mise dans le bon sens avant / arrière. On est dans le bon
sens quand l'arrière se prolonge bien avec le fuselage au dessus.
- Check you put it on the right way : you are correct when the back extends parallel
with the fuselage.
- Vérifier en prenant du recul que la verrière est positionnée symétriquement par
rapport à l'avion.
- Stand back and check the canopy is placed symetrically on the aircraft.
- Faites un trait sur le fuselage au milieu de l'avion, devant et derrière. Marquez
aussi la verrière. Pendant l'ajustage, ces traits devront coincider.
- Draw a line on the plane centerline, on the fuselage and on the canopy. Durind the
contouring, these lines will have to match.
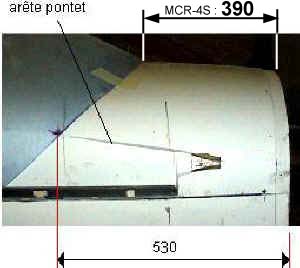
L'avant de la verrière passe 390 mm derrière la Cloison-Pare-Feu au centre, et à 530
mm de la CPF au niveau des arètes du pontet.
The font of the canopy passes 390 mm behind the firewall in the middle, and 530 mm
from the firewall at the end of the edge of the bridge (sides).
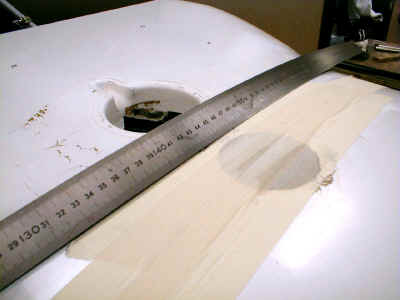
- Tracer un trait en passant un réglet métallique de 1m50 par les trois points
précédents, en essayant d'avoir une courbe régulière et esthétique.
- Trace a line on the front of the canopy which goes through the three points on the
fuselage. Use a 1.5m metal ruler.
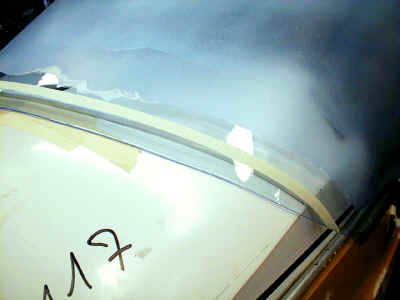
- Positionner la verrière avec l'avant le long du trait, et repérez l'emplacement de
la découpe par transparence.
- put the canopy on with the front part along the line, and locate the contouring line
by transparency.
- Retirer la verrière et la poser à l'envers sur une table protégée avec du papier
à bulles.
- Remove the canopy and put it upside-qown on a table with something on to protect it.
Recommandations pour la découpe :
About the cutting : some tips :
- Découper à quelques mm du trait puis ajuster à la ponceuse et à la cale à poncer
manuelle. (ajuster en replaçant la verrière si nécessaire)
- Cut-out at a few mm along the line. Adjust with the abrader then with a manual
abrading block. Put the canopy on if required to make it fit.
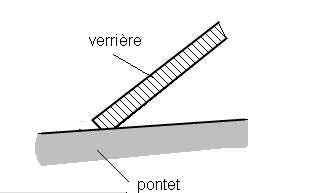
- Faire un biseau pour permettre à la verrière de venir se plaquer contre le pontet.
- Make a sharp edge on the front of the canopy by removing material from the
underside.
- Maintenir la verrière en position à l'avant, avec du scotch
- Hold the canopy in place on the front with adhesive tape.
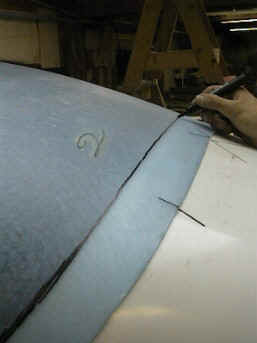
- Par transparence, repérez la position de la découpe avec du scotch de peintre
sur la partie supérieure arrière de la verrière. L'utilisation du scotch est fortement
recommandée : on peut déplacer le scotch sans problème alors que on ne peut plus s'y
retrouver avec des marques succesives au crayon, à mesure qu'on ajuste la verrière.
- By transparency, locate the contouring line with tape on the upper back part of the
canopy. The use of tape is strongly recommended, as tape is easy to remove and readjust,
when you won't remember which line is the good one while you draw successive lines as you
progress.
- Découpez à quelques millimètres de votre marque.
- Cut at a few mm along your mark.
- Posez la verrière en place puis ajustez progressivement, au début avec des outils pneumatiques, puis à la fin tout doucement, avec une cale à poncer manuelle (papier 80 à 120). Poncez en long pour ne pas faire d'amorces de rupture.
- Put the canopy on then adjust gradually, first with some pneumatic tools, then finish slowly with a manual abrading block (80 to 120 sand paper). Abrade along the edge, and not perpendicular, to avoid cracks starts and vibrations.
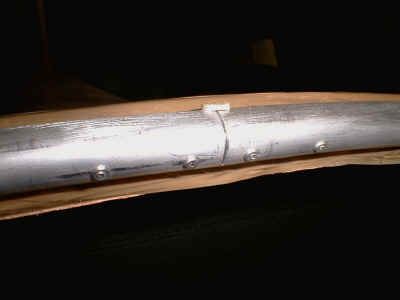
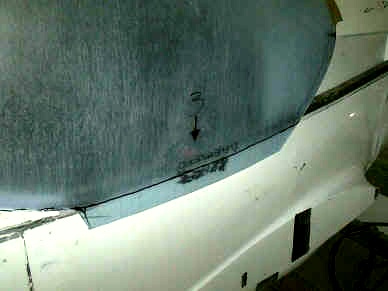
- Repérez par tranparence la découpe des flancs, puis renouvellez les opérations
d'ajustage sur les côtés. Mettez les cales pour faire affleurer la verrière et le
fuselage. (à l'avant, là où sera la joue de verrière, laissez le plexi légèrement en
retrait pour que ce soit la joue en carbone qui affleure).
- Locate the trim line on the sides, then start again the trimming ooperations on the
sides. Put the little spacers to put the canopy flush with the fuselage. (on the front
part, where the "cheeks" wil be glued, leave the canopy set back, to make the
cheek to be flush with the fuselage).
- Ajustez plus précisément l'arrière de la verrière, toujours en commencant par la
partie centrale supérieure et en descendant. Faites bien plaquer affleurer le plexi
contre les cales.
- Trim more accurately the back of the canopy, still beginning by the top middle part
and going down along the sides. Make sure the canopy touches the spacers and is flush with
the fuselage
Remarque : si la verrière "baille" en certains endroits, c'est q'elle est
trop en appui sur les côtés, en général c'est vers l'arrondi de la verrière. En fait
elle devrait être posée sur les cales du dessus de l'arceau, et reposer quasiment sans
toucher au fuselage sur les côtés. Pour trouver l'endroit en contrainte, glisser une
feuille de papier entre le plexi et le fuselage. Poncez là où on ne peut pas faire
bouger le papier librement. Allez-y doucement, et ne cherchez pas la perfection.
Note : if the canopy seems too large on some places, that's because it pushes too hard
on the sides, generally it is on the fuselage radius area. Actually it should be applyed
on the upper spacers, and even not touch the fuselage on the sides. to find the place
where it touches, slide a shhet of paper between the fuselage and the plexi, and abrade
where the paper does not move freely. Do it slowly ! Remember : don't try to do too
perfect job : it is useless.
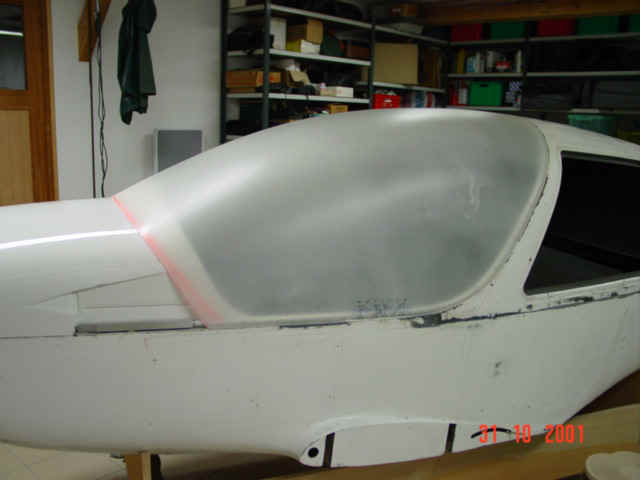
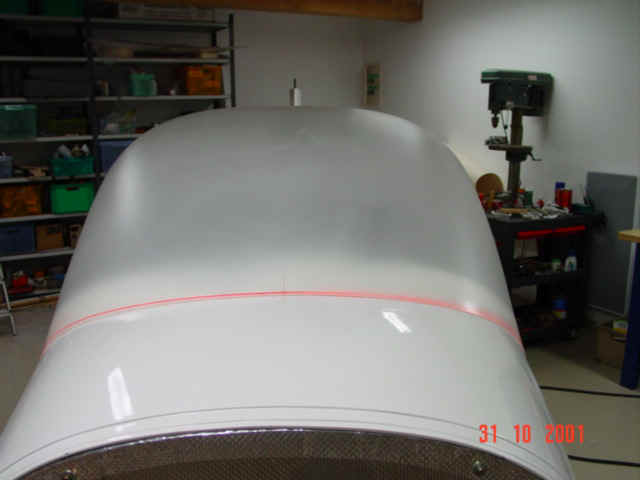
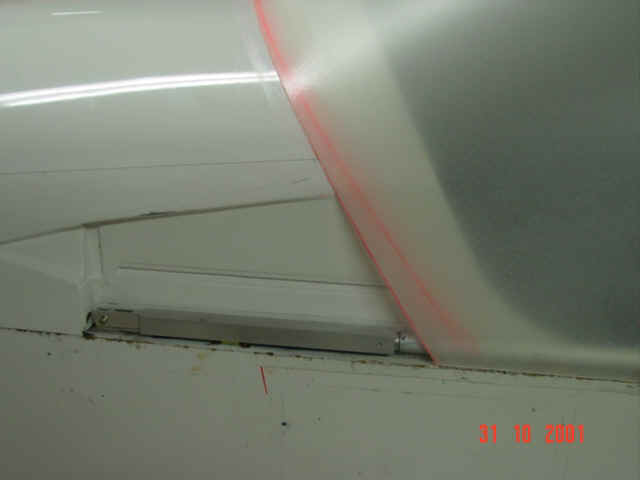
Posez les joues de verrières à leur place et repérez la découpe sur place pour avoir des formes esthétiques, en particulier au niveau du raccord entre le plexiglas et la joue. Important : il faut faire un rayon de raccordement de 10 mm minimum. Percez au niveau de l'axe pour avoir accès à la vis.
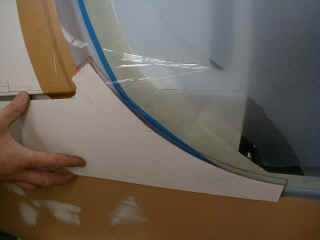
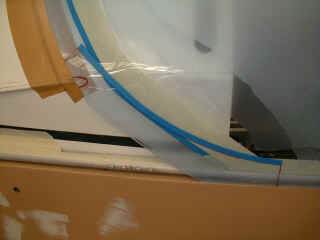
Collez des cales sur l'arceau pour faire affleurer la joue au fuselage.